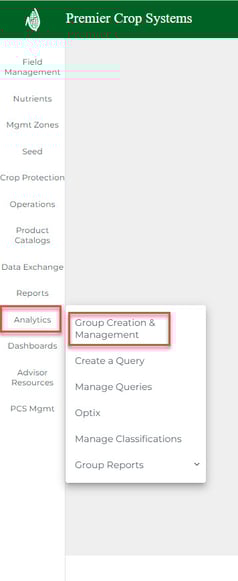
- Once logged into to your PCS account, click on the "Analytics" button and then select "Group Creation & Management."
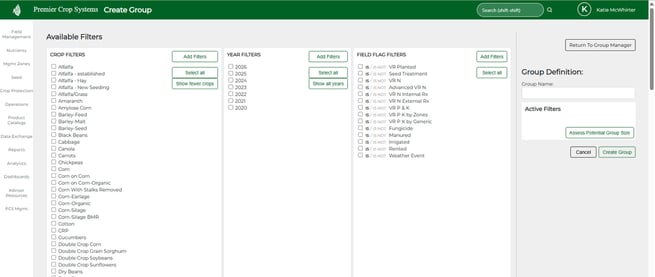
- Click the “Create New Group” button on the right-hand side of the Manage Groups screen.

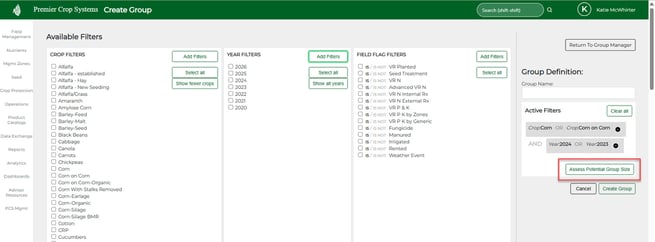
- Apply the filters that you want for the group you are wanting to run the dashboards with or run a query on. As you do this, for each filter, make sure that you click the “Add Filters” button for each filter.
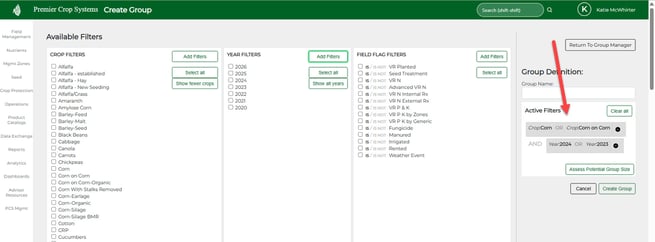
- As you add filters to your group, you will see the Active Filters on the right-hand of the screen.
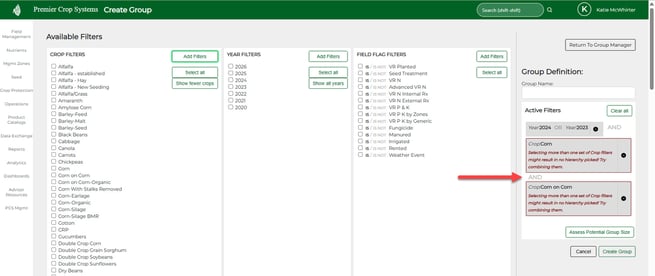
- If you are wanting multiple items for a given filter, you MUST add them at the same time in order to get the "OR" availability, otherwise the system will alert you that filtering by "AND" is not possible and you most likely end up with no hierarchies. Fields cannot be Corn AND Corn on Corn in the same year, however the system will find fields that are Corn OR Corn on Corn to put into that group.
- If you want to see your group’s potential size, click the “Assess Potential Group Size” button.
- If you wish to fine-tune members, you can do so by clicking the “Fine-Tune Members” button.
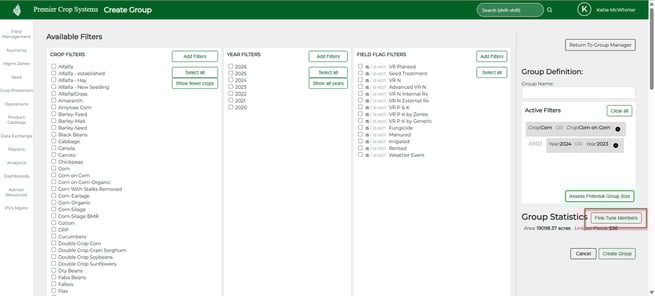
- Once satisfied, make sure that you name your group and click the “Create Group” button.

- Once the group has been created, you may now look at the “Group Top Ten”, Create a Query or use that group in the Dashboards.
- If you have any questions or issues, please contact your Advisor Support Representative and they will be happy to assist you.