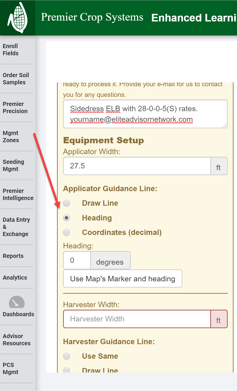
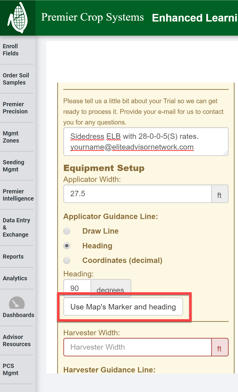
- Once you come to the Equipment Setup portion of your ELB creation, you will select the "Heading" option.
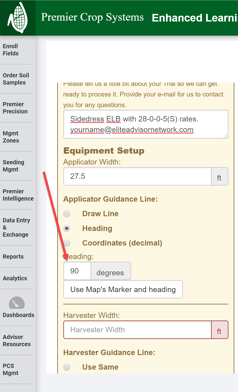
- Enter the Heading degrees in the box.
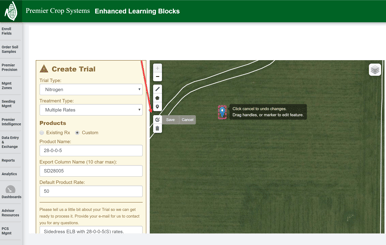
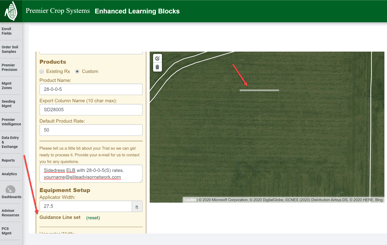
- In the map area, click on the Marker tool to drop a Marker on the map.
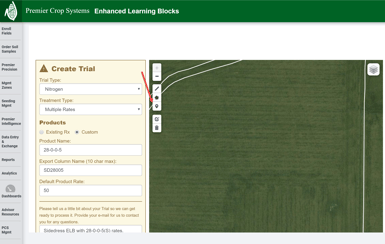
- Click on the map to position the Marker where you want it positioned. This should be in the area of where you are going to place your ELB, but does not need to be any one exact location.
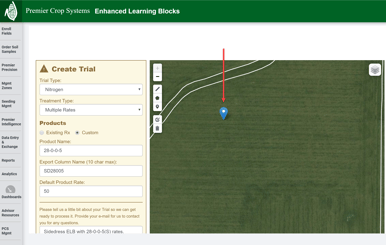
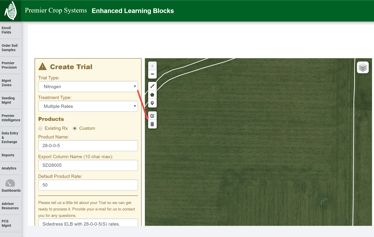
- If you wish to edit the placement of the Marker, you can click the "Edit Layer" button and drag the Marker.
- Once satisfied with your placement, click the "Save" button.
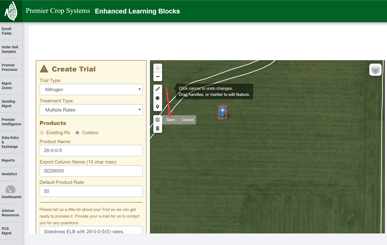
- If you wish to delete it, click the "Delete" button.
- Once satisfied, click the "Use Map's Marker and heading" button.
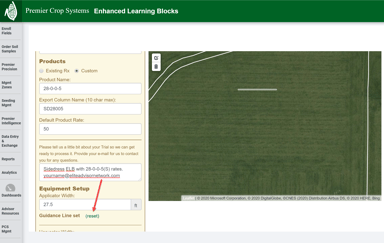
- You will now see a line on the map and then see that the Guidance Line is set.
- If you wish to redo this line, you can click the "(reset)" button.
- You can now finish creating your ELB.
- If you need any assistance, contact your adivsor support representative.