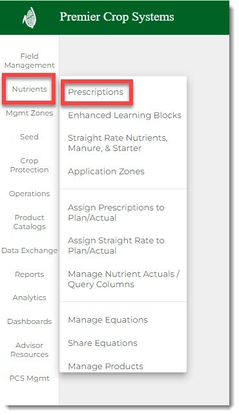
- Once logged into your PCS account, select the Nutrients tab and then click on the "Prescriptions" button.
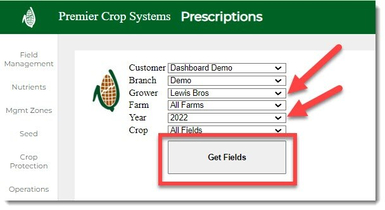
- Navigate to the desired Branch, Grower, and Year (filter down by Field and/or Crop, if desired) and click the "Get Fields" button.
- Click on the "Adjust Map" button for the field that you are wanting to edit.
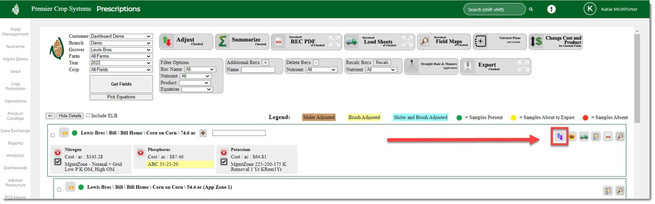
- Make sure that you are working on the Nutrient that you are wanting to work with. In this case, it is Phosphorus.
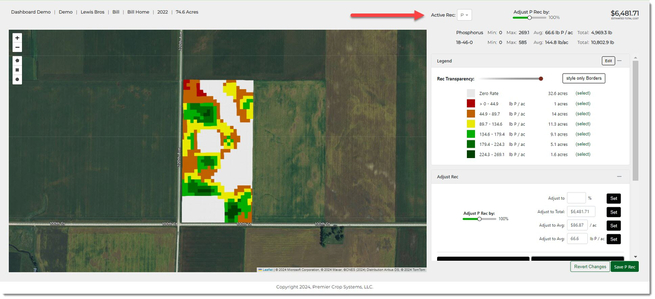
- Adjust your map to the view that you wish to have of your adjusting tools.
- Do any editing to your prescription at the field level before you add nutrient Learning Blocks.
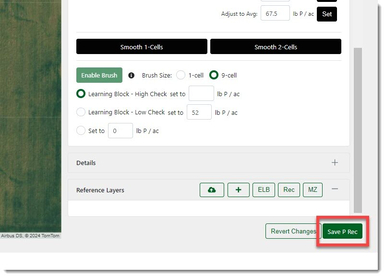
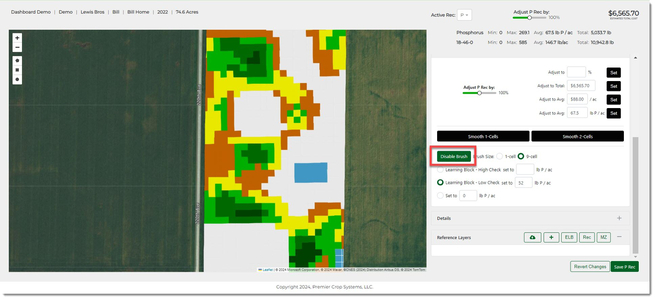
- Select the High Check or Low Check Learning Block that you wish to assign a value for, enter the value for the Learning Block, and then click the "Enable Brush Mode" button.
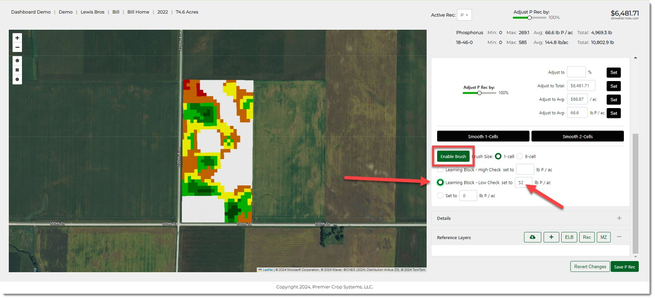
- Select the Brush Size that you wish to use. For this example, we will use a 9-cell or 3x3 (0.7 acre).
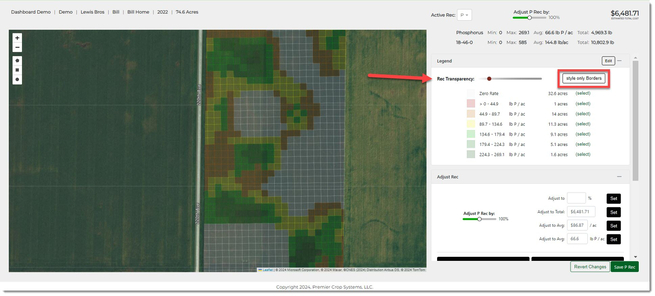
- If you need to, turn your transparency level down or "style only Borders" to see underneath the prescription to ensure a good Learning Block placement, use the "Rec Transparency" tool.
- Scroll over the map and you will see that the 9-cell brush tool is enabled.
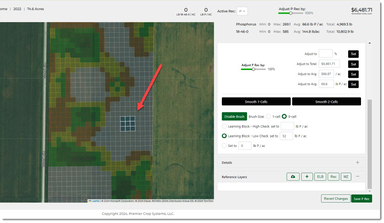
- Once satisfied, left click on the map to set those cells and any others to get the desired area for your Learning Block. Once satisfied, click the "Disable Brush Mode"
- You can place other High Check Learning Blocks with the same or different values by following the same process.
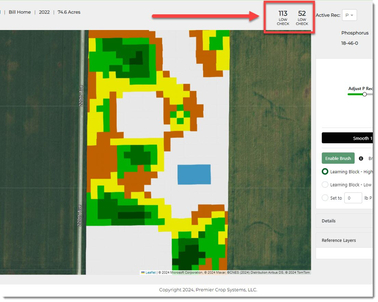
- If you want to see what the values are of the different Learning Blocks, hover your mouse over the cells and the value will be displayed in the upper right-hand corner.
- If you wish to undo your work, you can click the "Revert Changes" button and that will revert back to the last time you saved the rec.
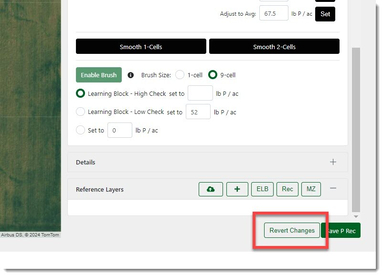
- When you are satisfied, click the "Save P Rec" button.