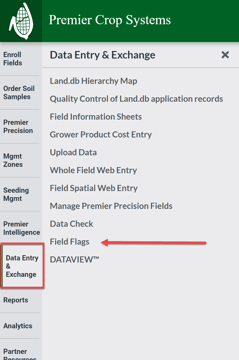
- Once logged into your PCS account, click on the “Data Entry & Exchange” button and then select “Field Flags” button.
- Select the Branch, Grower, and Year and click the “Get Fields” button.

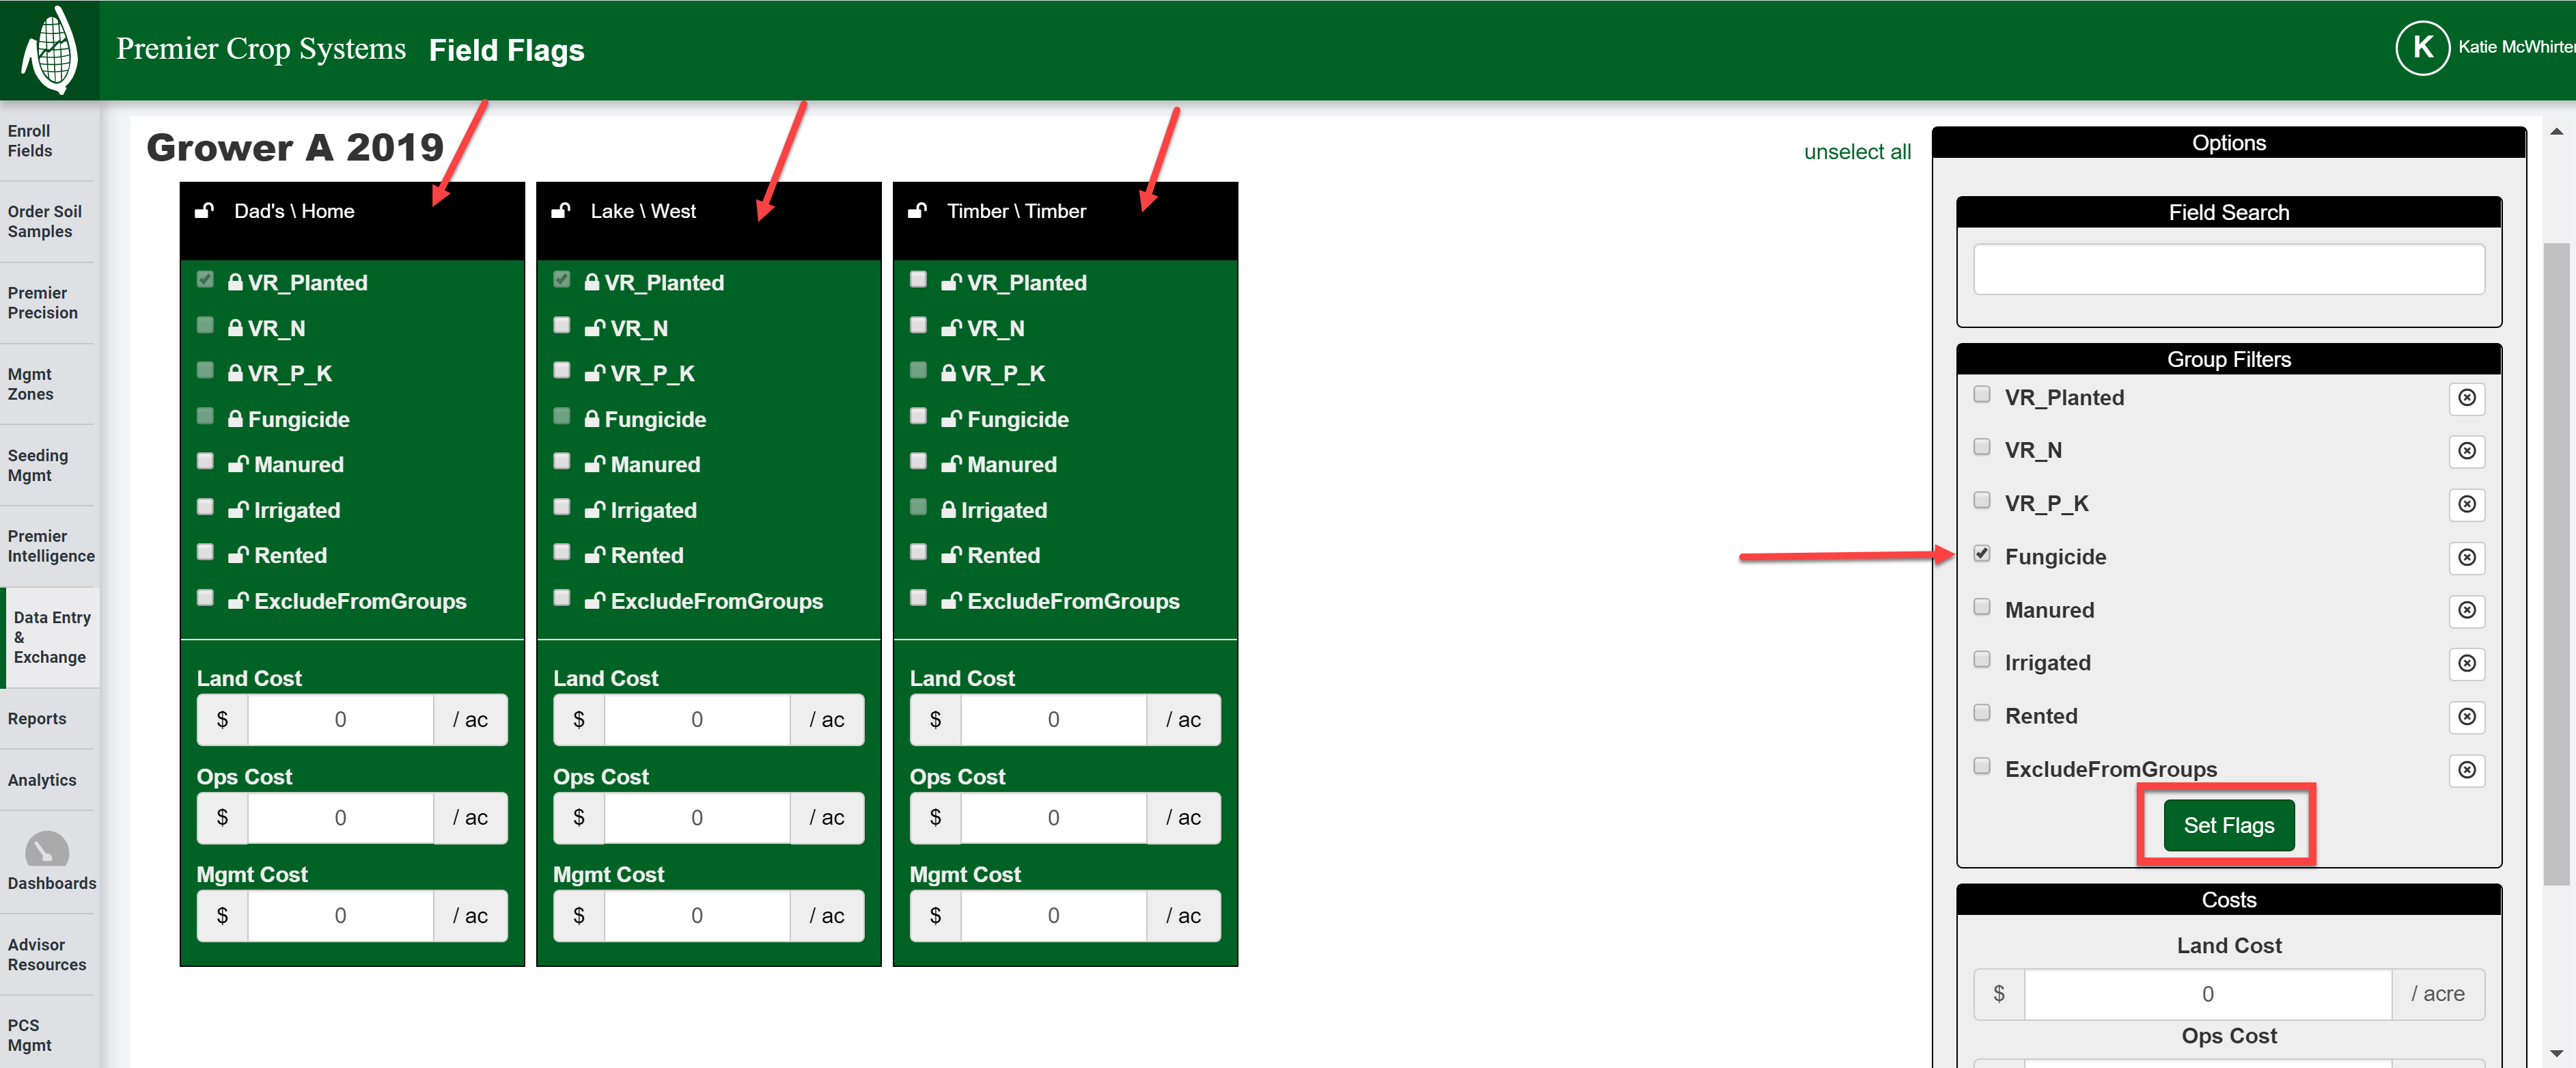
- Now you can set field flags individually, or you can select multiple fields by clicking the box with the field's name, set the filter on the right-hand side, and click "Set Flags" button and set the field flag for fast data entry!
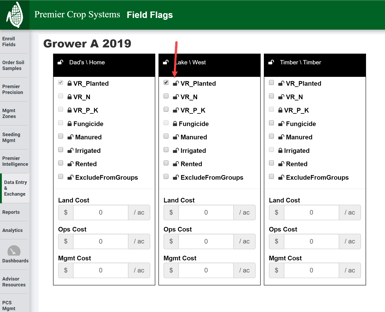
- If you have set a filter in the Field Flag and want to change it, you need to click on the padlock and it will unlock so you can uncheck the box!
- If you have any questions, do not hesitate to contact your advisor support representative to assist you!