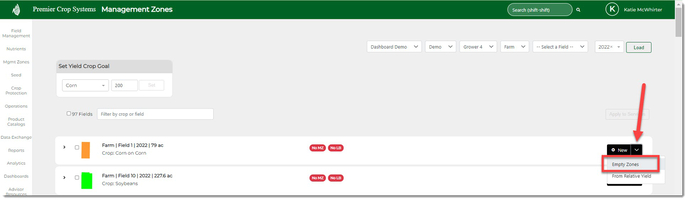
- Once on the Management Zone page, click the "+New" button for the field in which you want to work with if it has no Management Zone created and select "Empty Zones".
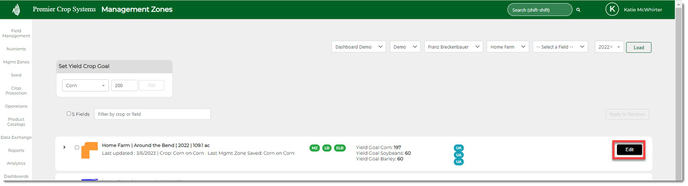
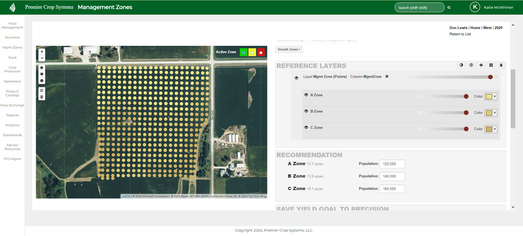
- If you already have Management Zones created and want to use a reference layer, click on the "Edit" button.
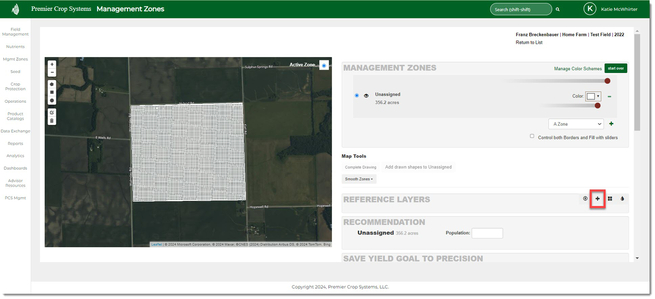
- Scroll down until you see the Reference Layer and click the "Add an overlay layer to the map" button
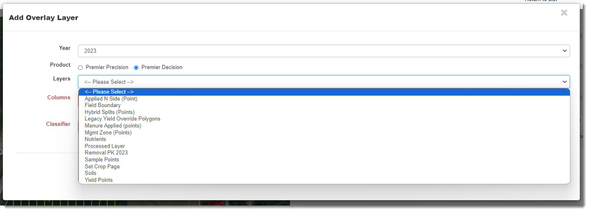
- Select the Year and then if you want to reference the layer in Premier Precision or Premier Decision.
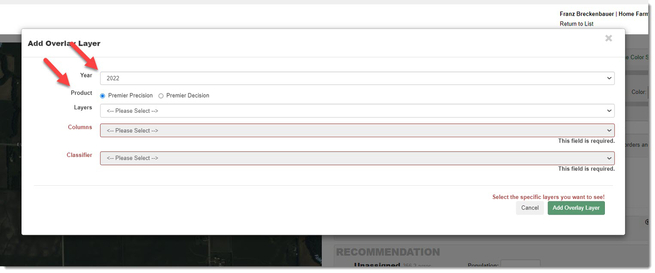
- Then you will need to select an attribute in the Layers drop down.
- Here are some of the possible layers for Premier Precision:

- And Soils Layers available
CountyName SMS SoilSubOrder CSR SoilGrtGroup StateName Drainage SOILNAME TEXTURE Map_Code SoilNameID YldGoalCrn SLOPE_RANG SoilOrder YldGoalSB
- And Soils Layers available
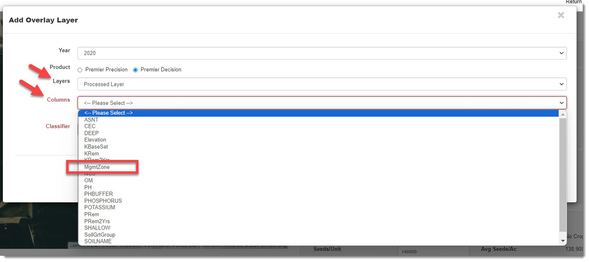
- And Processed Layers available in Premier Precision: (These can be seamlessly added to a management zone).
ASNT KBaseSat MgmtZoneSB PHOSPHORUS SoilGrtGroup CEC KRem NO3 POTASSIUM SOILNAME CPU KRem2Yrs OM PRem SoilSubOrder DEEP MgmtZone PH PRem2Yrs YieldGoalCorn Elevation MgmtZoneCorn PHBUFFER SHALLOW YieldGoalSB
- Here are some of the possible layers for Premier Precision:
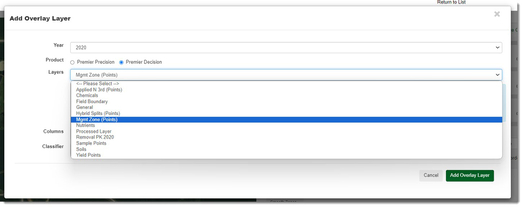
- Here are some of the possible layers for Premier Decision:
-
-
- Points
- Points
- Processed Layer These can be added to management zones seamlessly.
-
8. Classifiers
-
- Unique Values only have one option.
- Attributes with numerical values that are not unique, will have three options:


- Premier 10-20s
- Lowest 10% in Red
- 10 - 30% in Yellow
- 30 - 50% in Orange
- 50 - 70% in Light Green
- 70 - 90% in Green
- Highest 10% in Dark Green
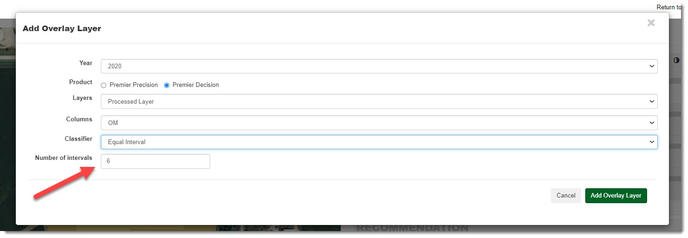
- Equal Interval
- Equal Interval is equal interval of VALUES not Acres.
- Maximum of 6 Intervals is allowed.
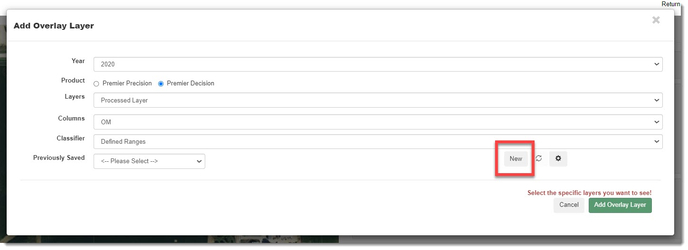
- Defined Ranges
- Use the drop down and find one that has been Previously Saved.
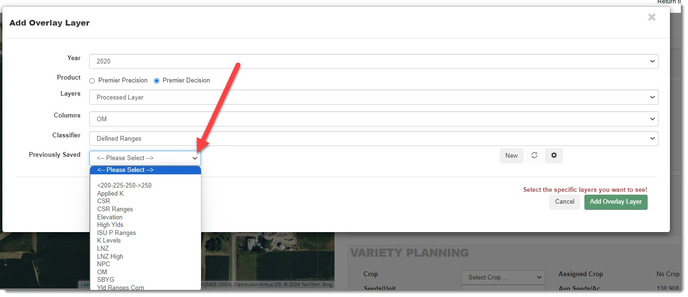
- Create a New one.
- Use the drop down and find one that has been Previously Saved.
- Premier 10-20s
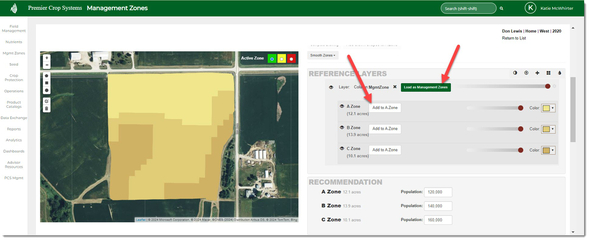
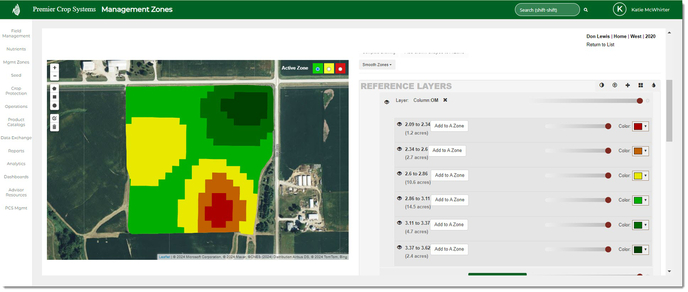
- Once satisfied, click the "Add Overlay Layer" button to add it to the map.
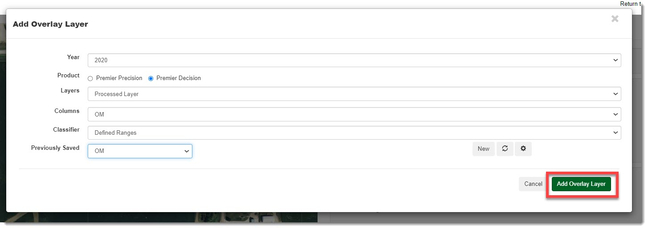
- You can now use this data for creating your Management Zones.
If you have any questions, contact your advisor support representative.