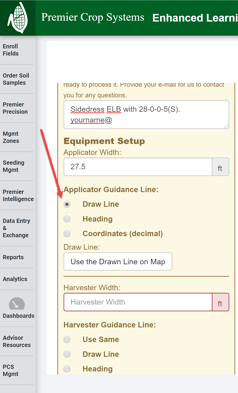
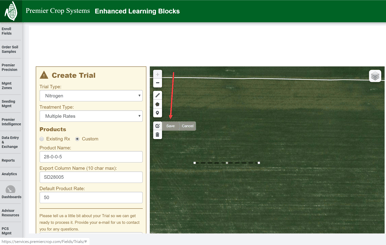
- Once you have started to create your ELB and are going to manually draw a line to indicate the line of travel, you should click on the "Draw Line" option for the Applicator (or Harvester) Guidance Line.
- Select the line tool to draw your line and on the map, click where you would like to position the guidance line. This should be in the area of where you will be placing your ELB, but you do not have to be on any exact point.
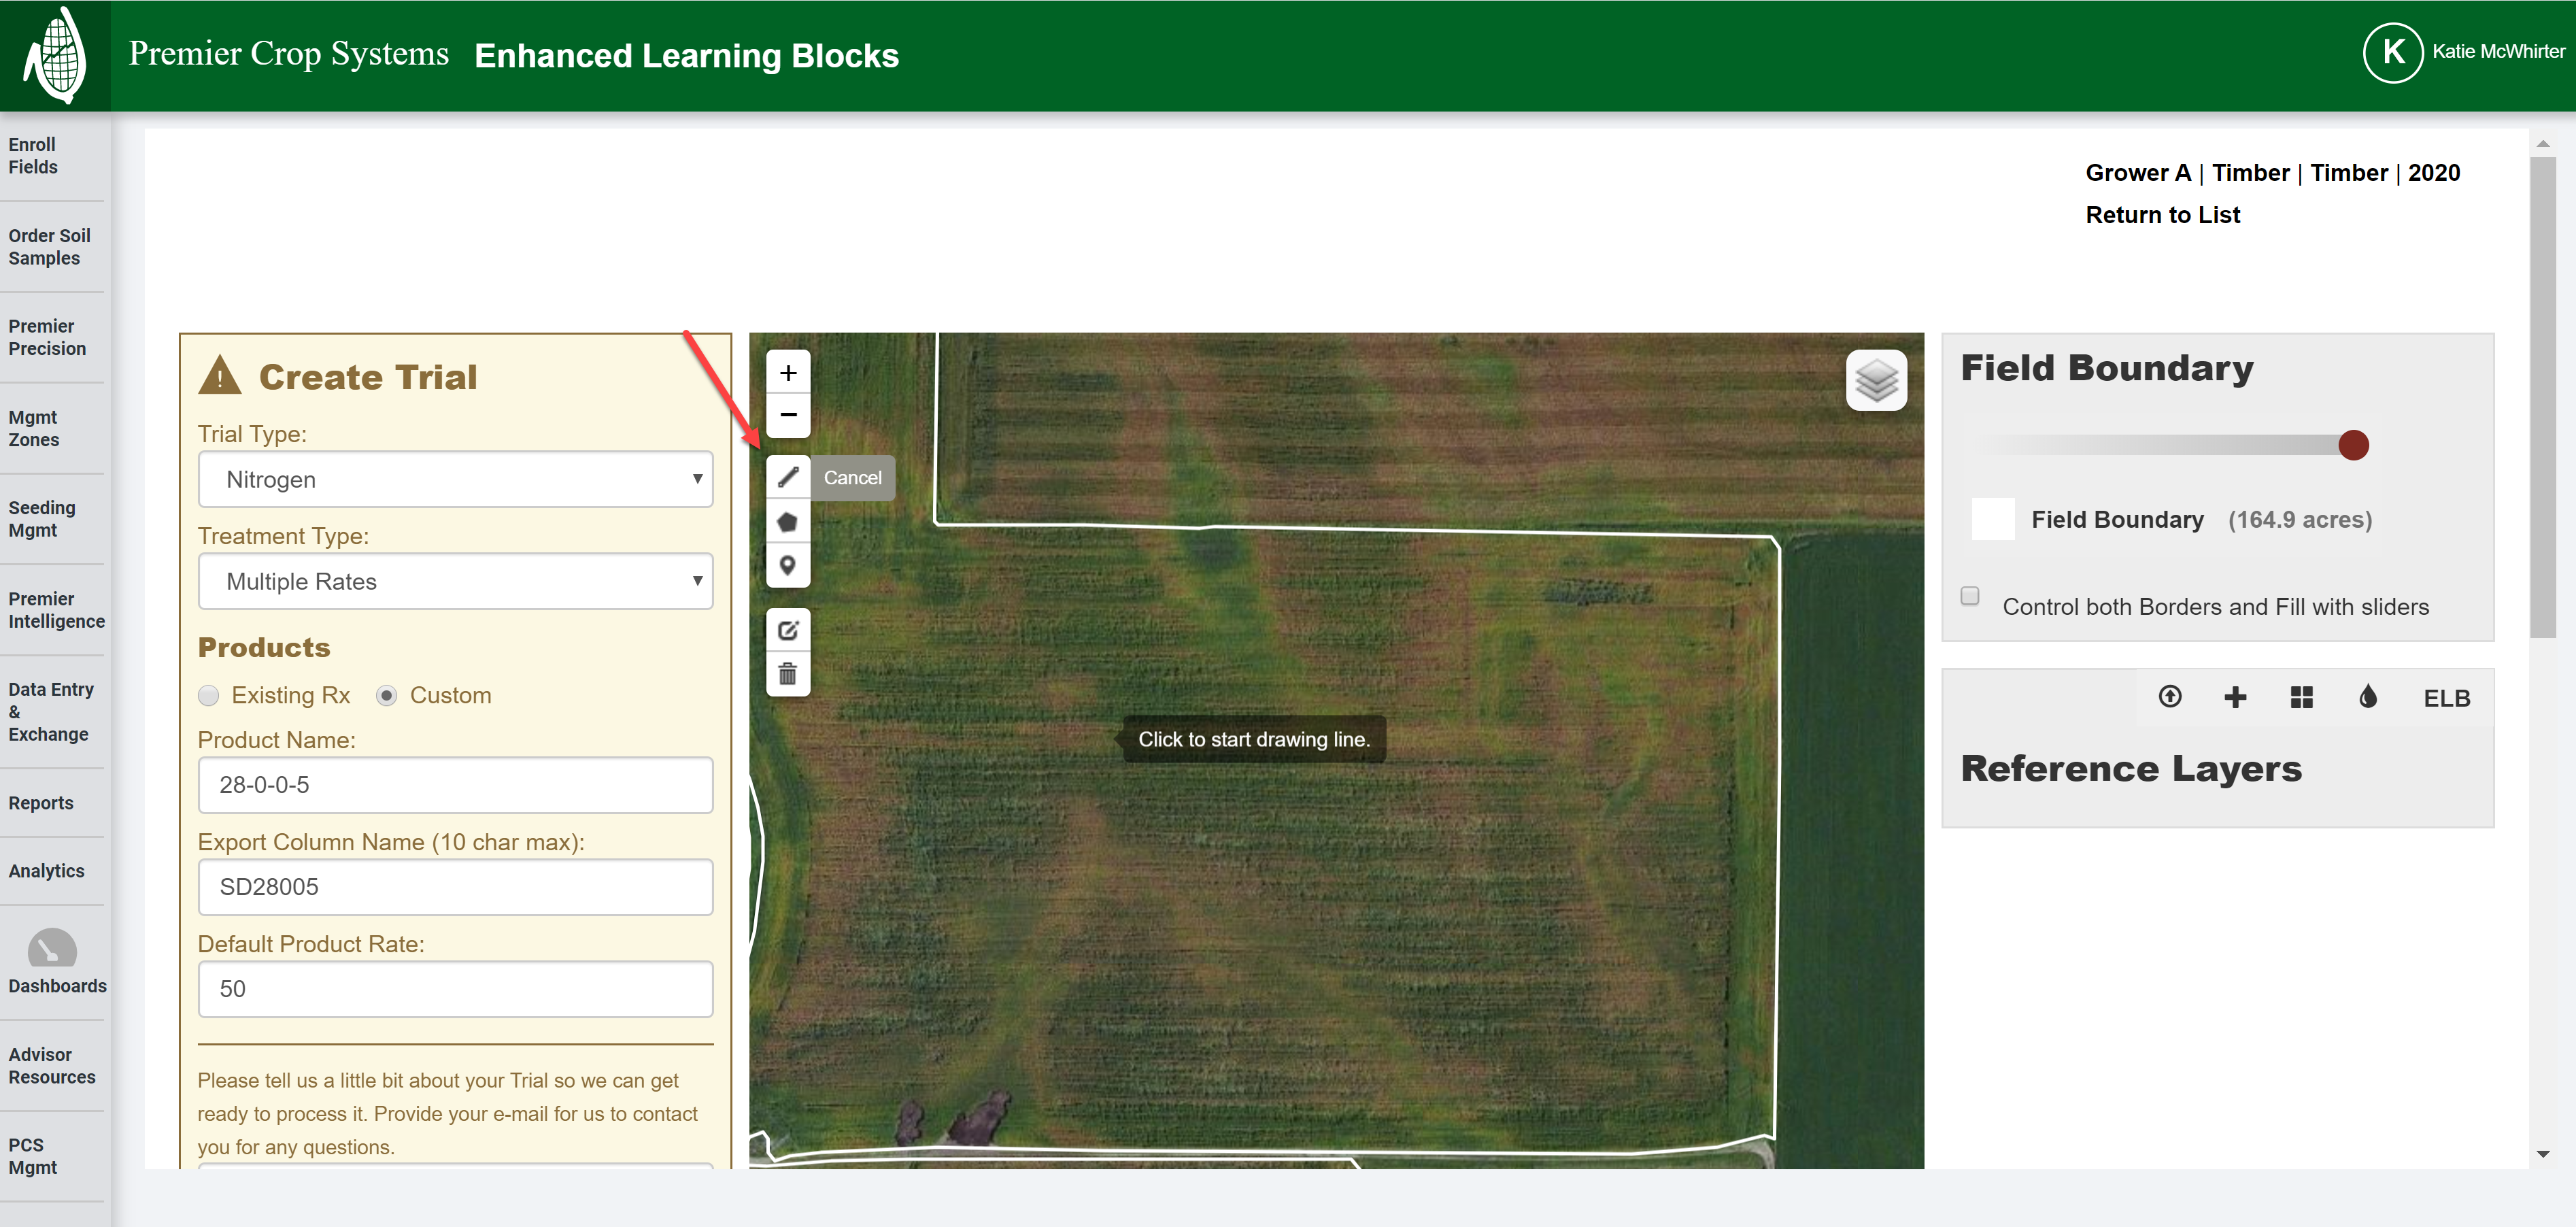
- Once you have finished your line, click the last point and you will see that the line has been formed.
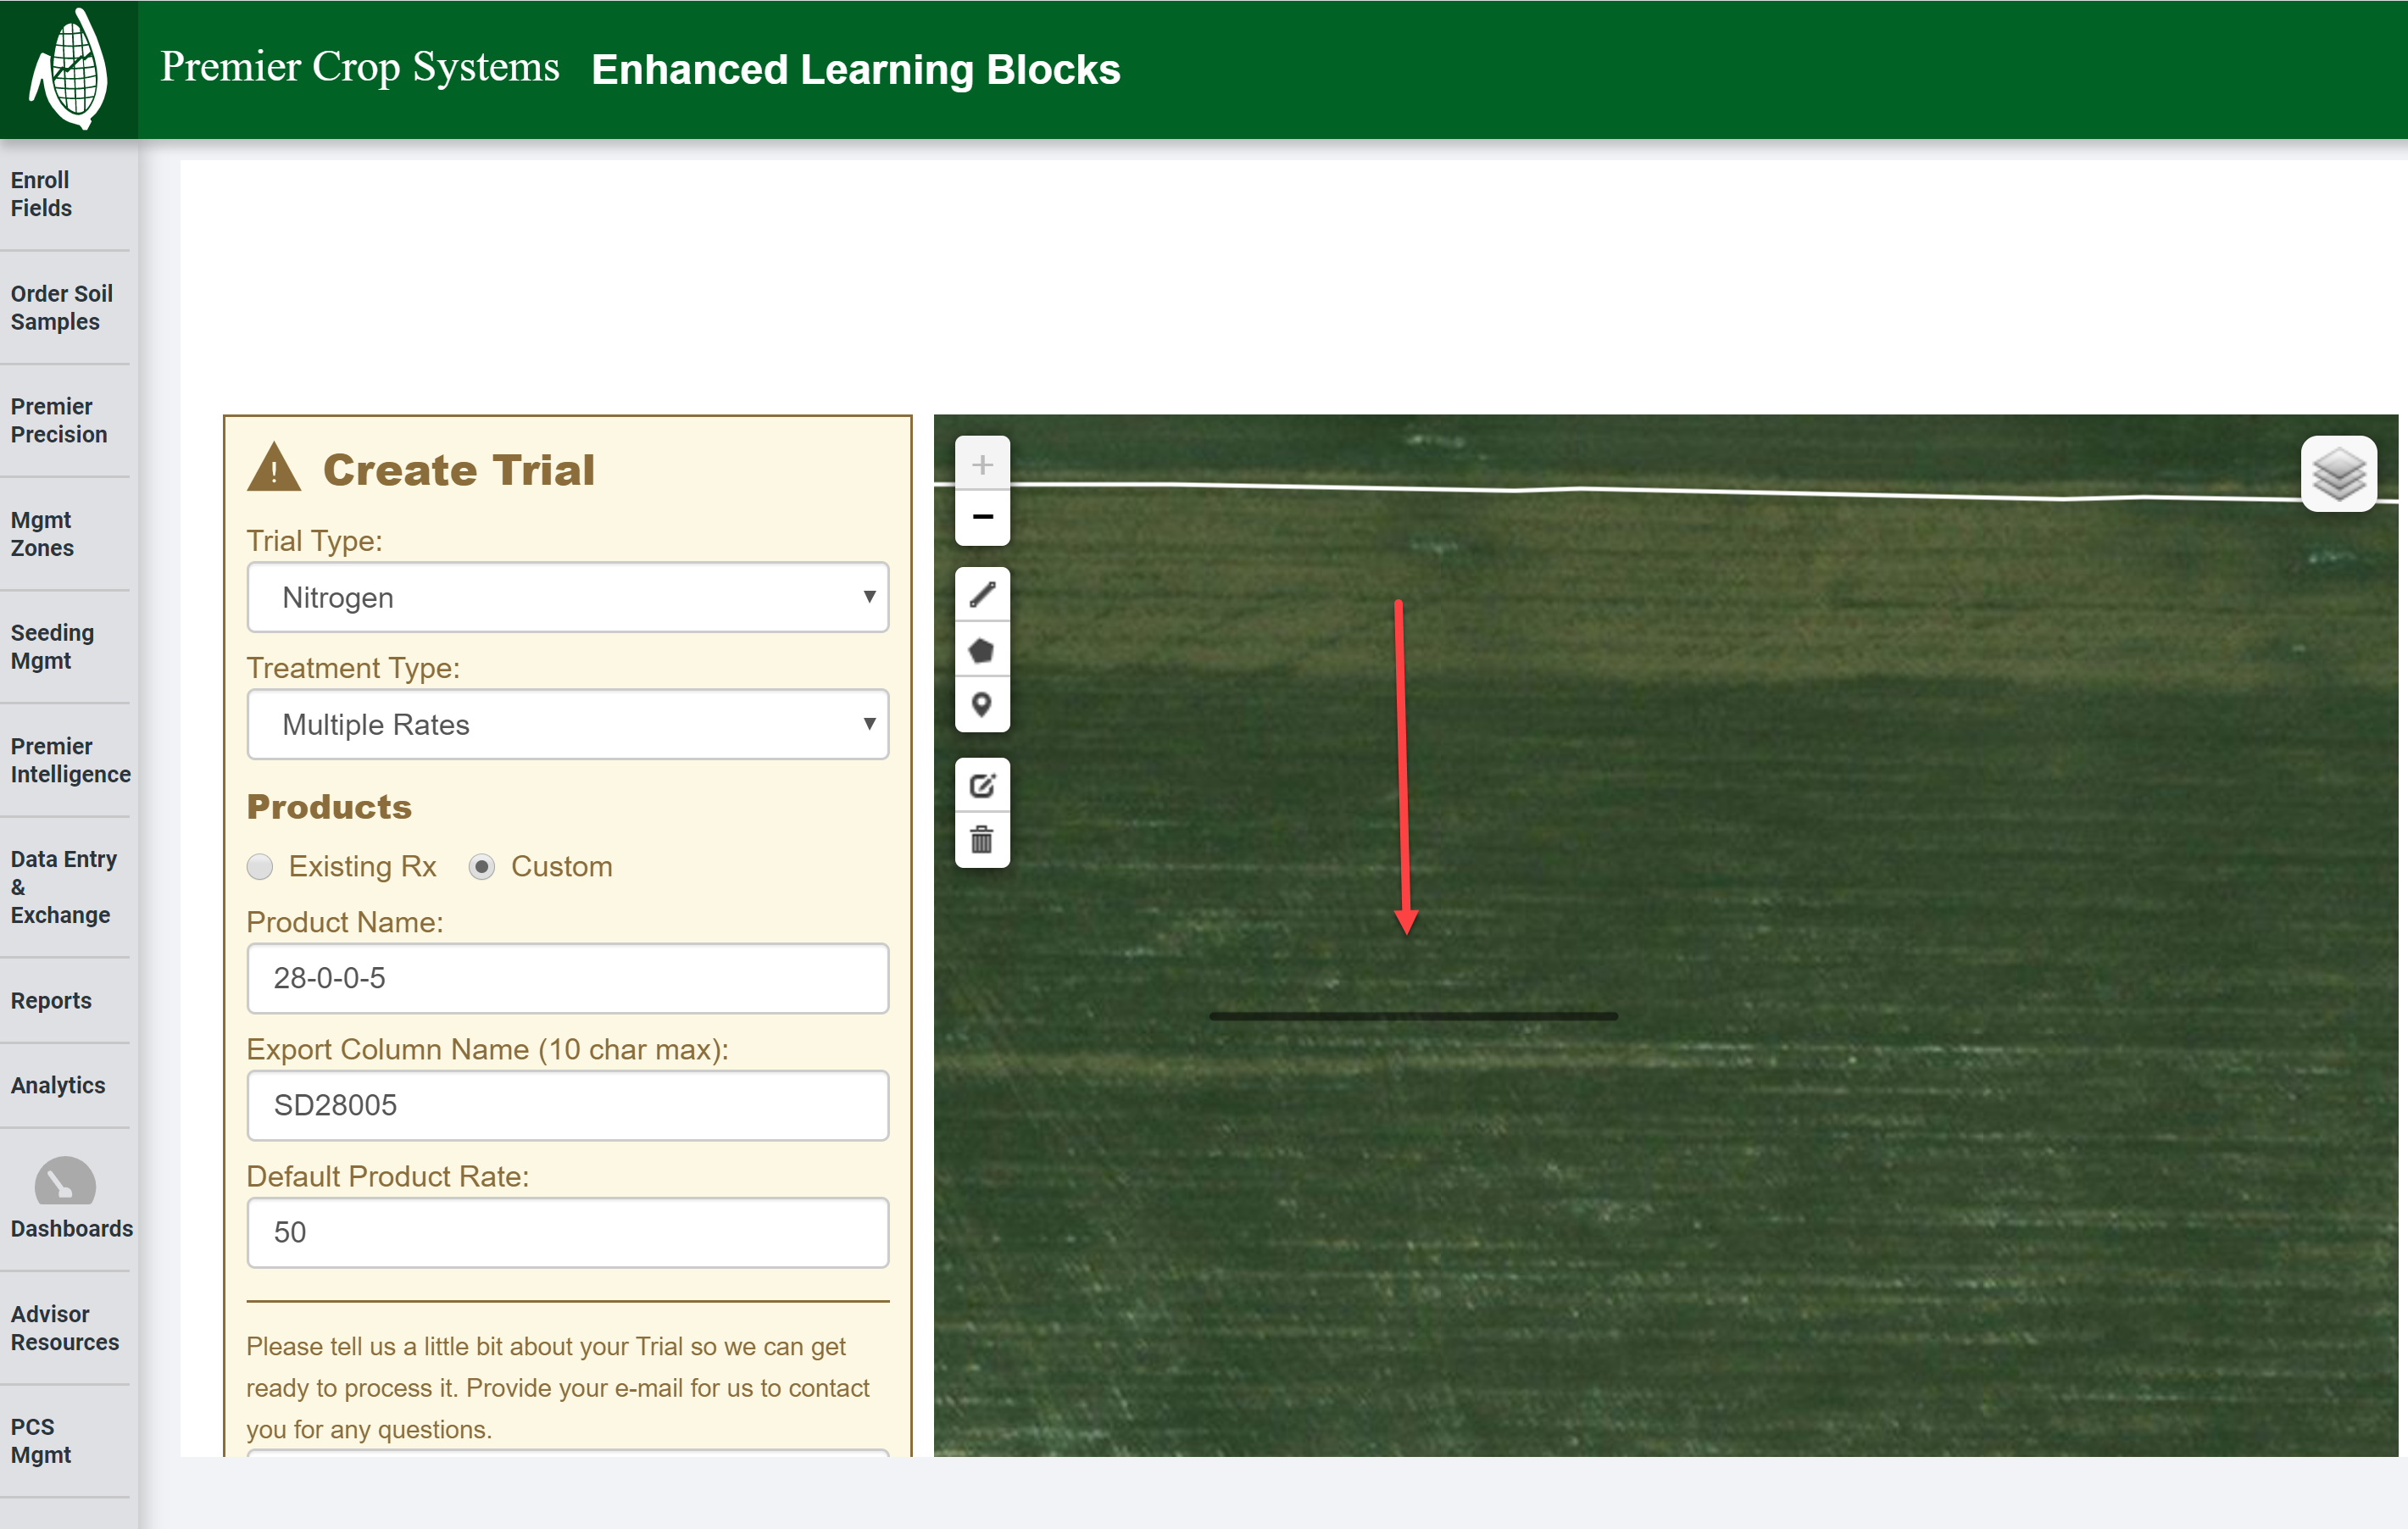
- If you need to edit the line that you've drawn, click the "Edit Layers" tool on the map and you can drag any of the vertex.
- If you make any changes, click the "Save" button.
- If you wish to delete this line, click the "Delete" button.
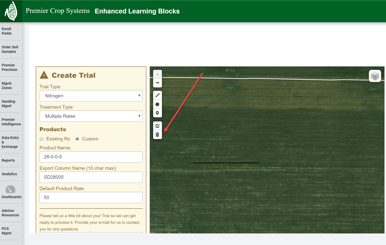
- Once satisfied, click the "Use the Drawn Line on Map" button.

- The line will disappear and you will see that is set.
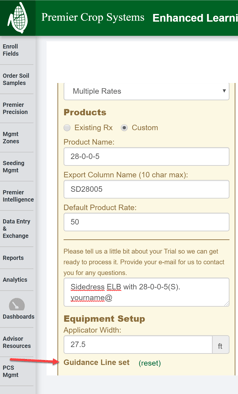
- If you need to reset or delete that line, you can click the "(reset)" button and it will start you over drawing that line without prompting.
- You can now finish creating your ELB.
- If you need any assistance, contact your advisor support representative.