- Log into your Premier Crop account.
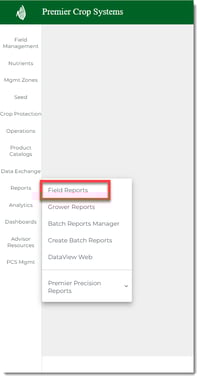
- Click on the “Reports” button and then select “Field Reports”.
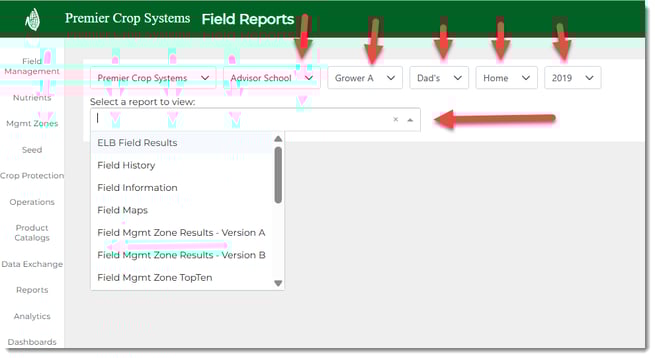
- Select the Branch, Grower, Farm, Field and Year. Then, using the dropdown, select the report that you want to view and/or print.
- For the following reports, you can show the Seed Treatments and/or Economics (costs) in the report or leave them out:
- Field History
- Field Mgmt Zone Results – Version A
- Field Mgmt Zone Results – Version B
- Field Variable Rate Population
- In Season
- If you wish to include them, select the desired option(s).

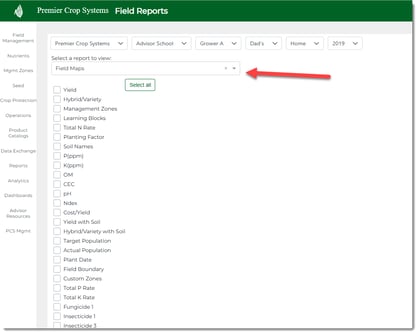
- You also can print Field Maps for layers that are a Processed Layer in Premier Crop by selecting those once the "Field Maps" button is selected. An example is shown here:
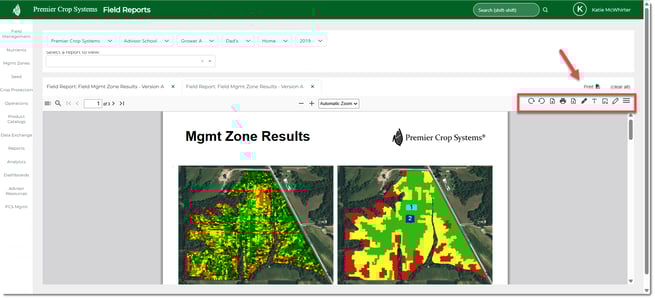
- Once you have selected the Report that you wish to view/print, you can click to "View Report" or "Download PDF".
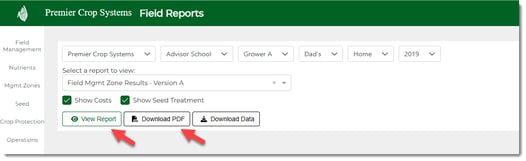
- Downloading will automatically download to your computer.
- By selecting "View Report" option, you can alter the PDF and still have the option to Print.
-
Notes:
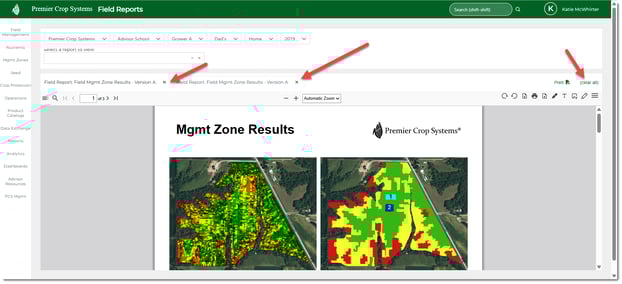
- Each report opens in a new tab. You can close these individually by clicking on the “x” on the individual tab or using the “(clear all)” button on the right-hand side.
- Each report opens in a new tab. You can close these individually by clicking on the “x” on the individual tab or using the “(clear all)” button on the right-hand side.
- You can view, print, or save multiple field level reports by using the Premier Decision Create Batch Report page.
- As always, if you have questions or issues, contact your advisor support representative!