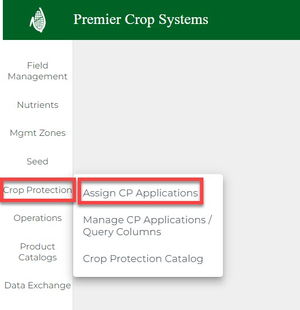
- Once logged into your PCS account, click on "Crop Protection", then "Assign CP Application" button.
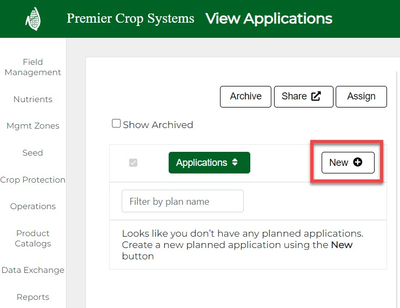
- Once on the View Application page, you will want to create a new crop protection plan by clicking the "New+" button.
- Once on the New Crop Protection Application page, you will want to give your Plan a name.
- Plans should be concise, as the Plan Name will show up on Reports.
- Plans should be developed in terms of the application trip and products should be added to it.
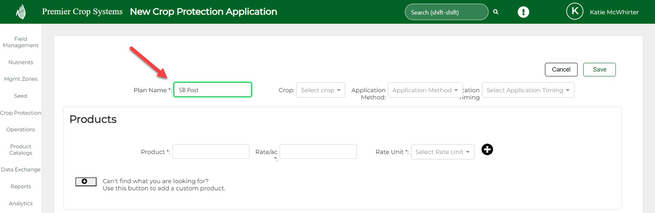
- Click the Tab key.
- Select the Crop (either use the drop owns or start typing the crop and when it's highlighted, hit your Enter key).
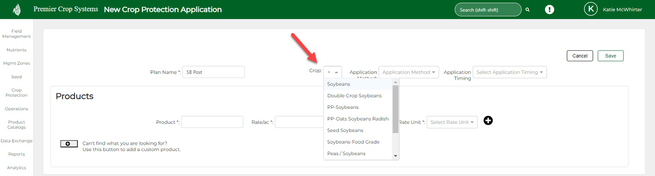
- Click the Tab key.
- Again, either use the drop down to select or start typing in the Application Method and once it is highlighted, click your Enter key and then Tab to quickly keep moving!
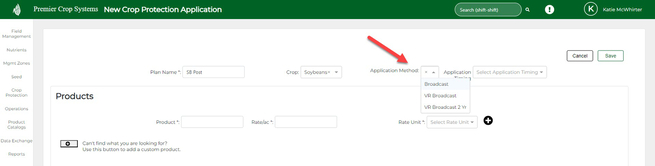
- Click the Tab key.
- Assign the Application Timing, if you wish to.
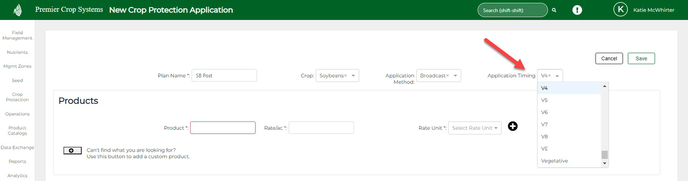
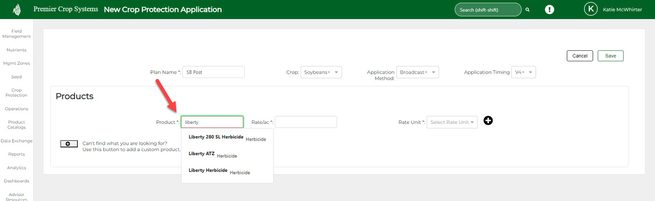
- Start typing in the product and select the product that you are searching for. Again, you can use the up/down arrows and Enter key to quickly navigate through this screen.
- Type in the Rate/ac and click the Tab key.
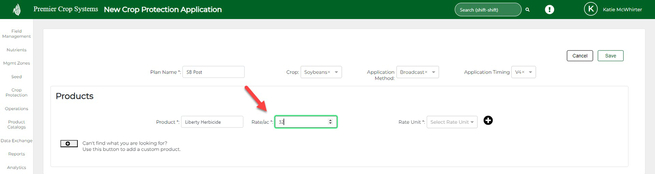
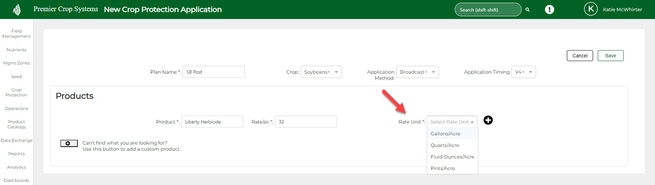
- Select the Rate Unit by either typing and using your Enter key once it's highlighted or select it from the drop down list.
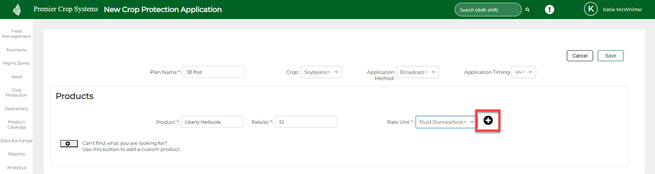
- Now click the add button to add all of the products needed in this application.
- If you cannot find a product in the list, you can Add a Custom Product.
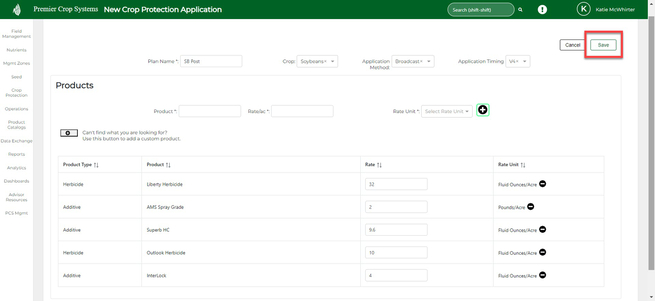
- Once satisfied, click the "Save" button in the upper right-hand corner:
- You can now assign the application to desired field(s).